
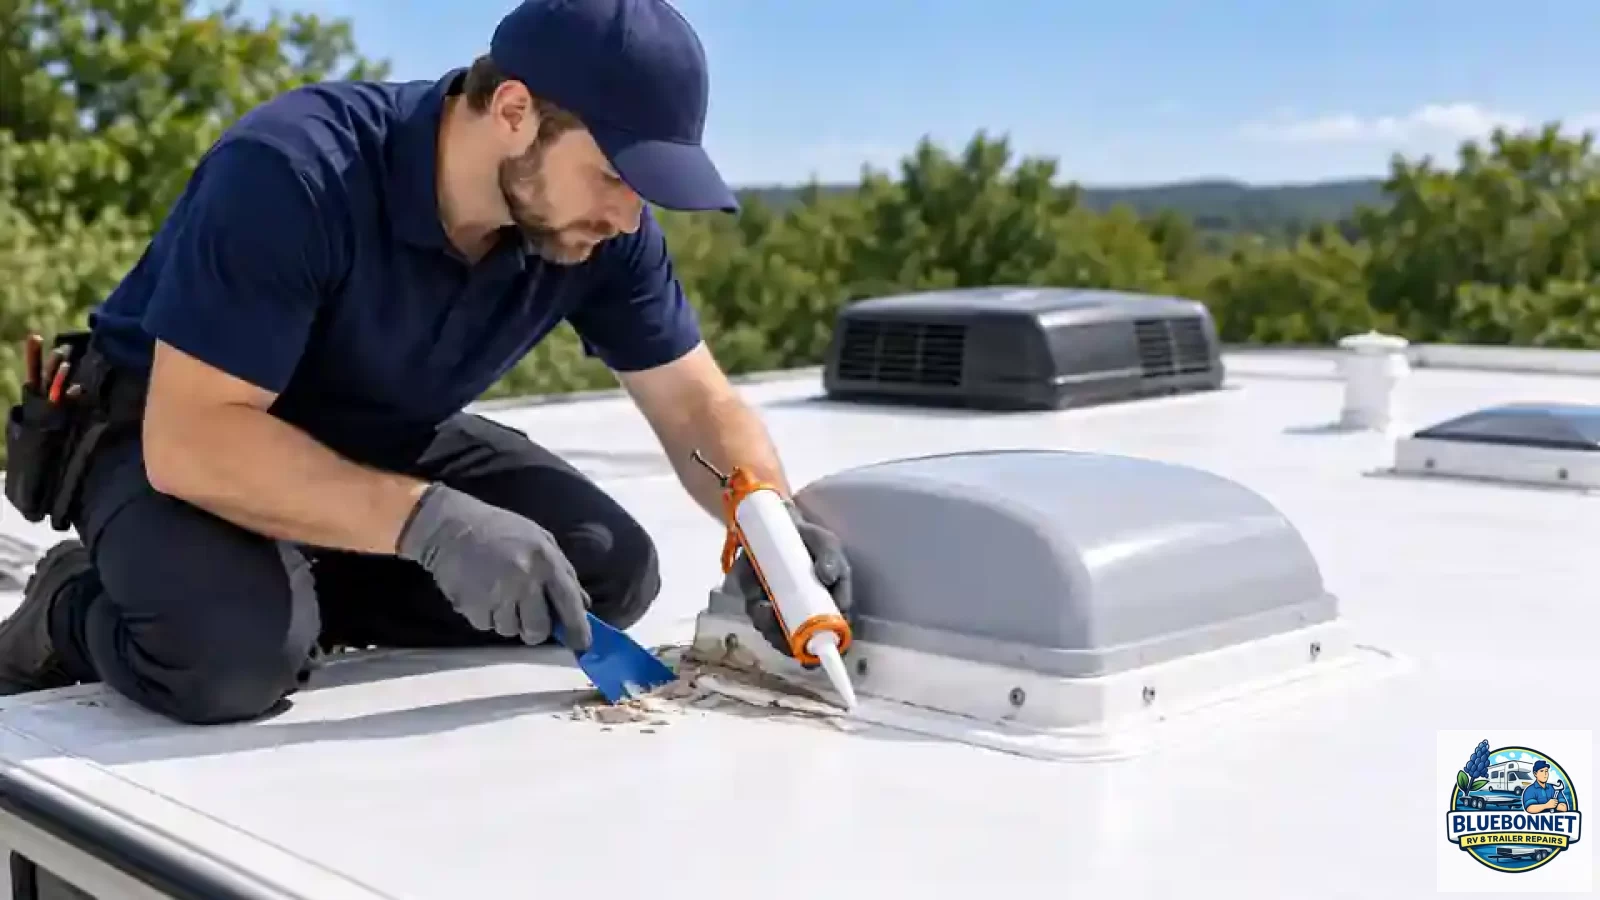
RV roof resealing and RV roof repair are not the same job. Resealing is appropriate when the roof membrane and the material underneath are still sound but sealant around a seam, vent, skylight, edge, or other penetration has aged, cracked, lifted, or separated. Repair is the better path when the membrane itself is torn, punctured, loose, deteriorated, or when water has already damaged decking or other structure below the surface.
The important part is identifying which problem you actually have before adding more sealant. Fresh sealant can restore a failed joint. It cannot restore rotten wood, rebuild damaged decking, or make a compromised membrane structurally sound.
When an RV roof reseal may be enough
A reseal is usually a maintenance-style repair focused on the places where water can enter around roof components and transitions. If the surrounding roof is firm and the membrane is otherwise in good condition, removing failed sealant and applying compatible new material may be the appropriate repair.
Common areas that may need resealing include roof vents, skylights, antennas, plumbing vents, roof edges, front and rear transitions, and other roof penetrations. BlueBonnet's RV roof, seals and leak repair service covers inspection of common leak points and resealing when the condition of the roof supports that approach.
Signs the issue may be limited to sealant
- The sealant is visibly cracked, split, lifted, or pulling away from a flange.
- The surrounding membrane remains flat, intact, and securely bonded.
- The roof feels firm around the area rather than soft or spongy.
- There is no obvious tear, puncture, or broad deterioration in the roof material.
- Interior staining, if present, appears limited and the source can be traced to a specific joint or penetration.
Even in these situations, the old material should be evaluated rather than simply covered with another thick layer. The goal is to create a sound seal on a stable surface, not hide a failing joint under more product.
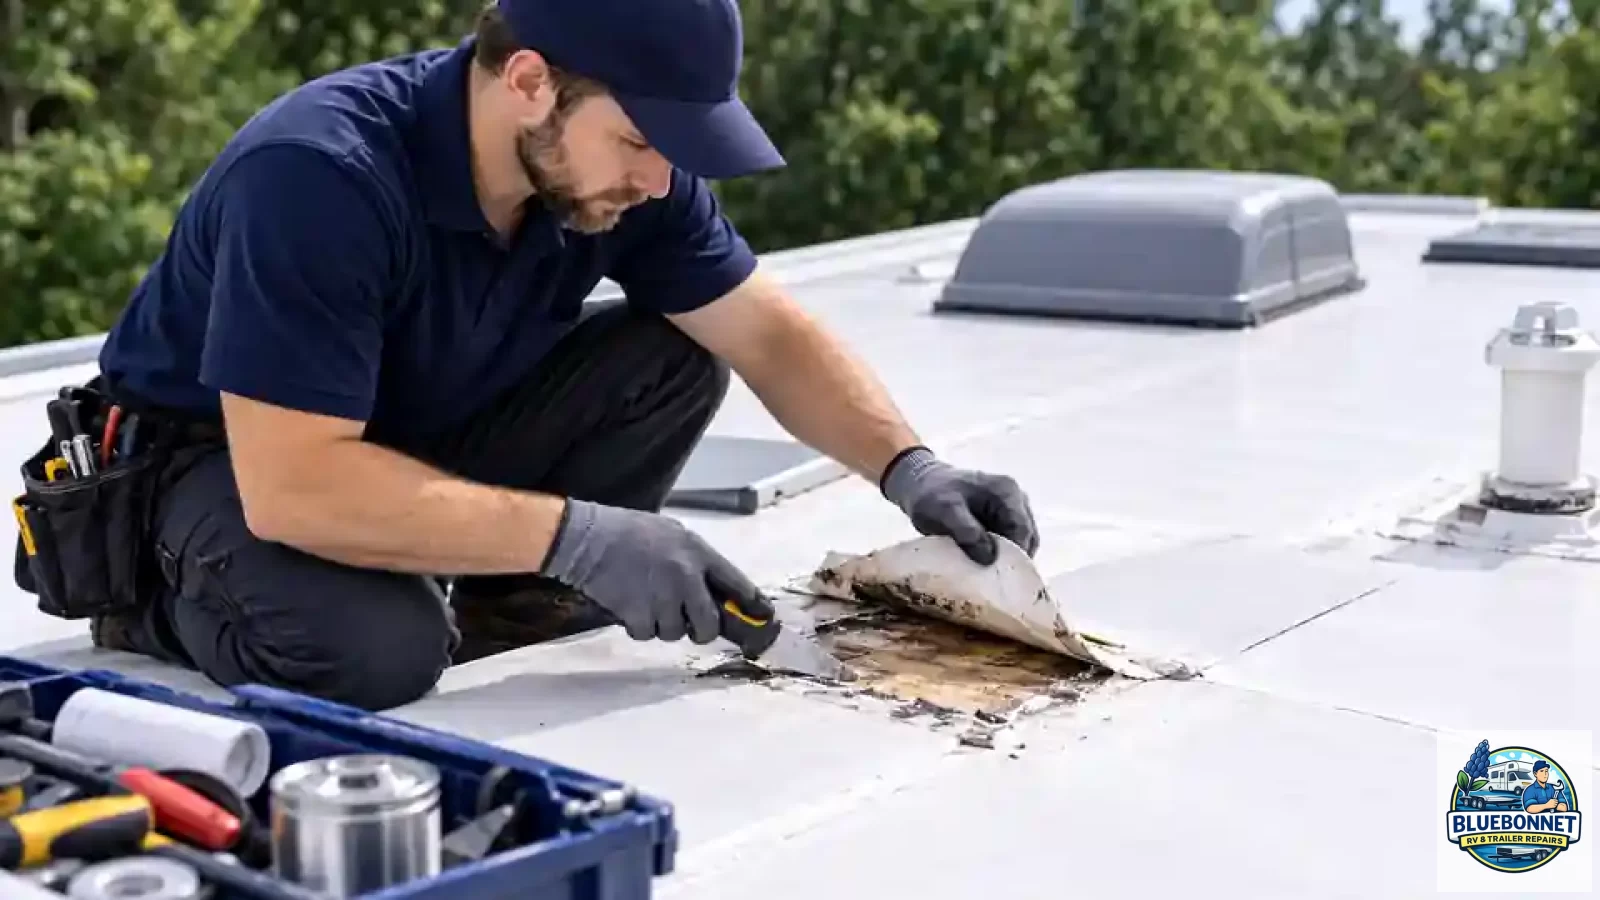
When the problem has moved beyond resealing
Sealant only addresses a sealing surface. Once the roof membrane or the structure below it is damaged, the repair scope changes. A new bead around a vent will not solve a puncture several inches away, a loose membrane, swollen decking, or wood that has lost strength after repeated water exposure.
That is when the job becomes an RV roof repair rather than a straightforward reseal.
Signs a roof repair may be needed
- A tear, puncture, split, bubble, or loose section in the membrane.
- A soft area underfoot near the leak or around a roof component.
- Decking that appears swollen, delaminated, darkened, or deteriorated once exposed.
- Water staining that returns after prior resealing.
- Damage that extends beyond the edge of a vent, seam, or other obvious leak point.
- Multiple leak points or broad deterioration instead of one isolated failed seal.
In those cases, the failed material has to be addressed as part of the repair. Adding sealant over the visible symptom can delay the correct repair while water continues moving into hidden layers.
Why simply adding more sealant can make diagnosis harder
It is understandable to reach for a tube of sealant when a leak appears. The problem is that adding material without confirming the source can cover evidence of how water is entering. It can also create thick, uneven layers that are harder to remove later when a proper inspection or repair is needed.
Compatibility matters too. RV roofs use different membranes, coatings, trim materials, and sealants. A product that works well in one location may not be appropriate for another. The existing surface should be clean, stable, and compatible with the replacement material.
A better sequence is to inspect first, identify the failed joint or damaged material, remove loose or failed sealant where appropriate, prepare the surface, and then apply the correct repair for what is actually found.
The roof surface does not always show the full damage
Water can enter at one point and travel before it becomes visible inside an RV. A ceiling stain may appear several feet from the exterior opening, and a small-looking seal failure may have been present long enough to affect decking, insulation, framing, a wall edge, or the floor below.
That is why some roof problems cannot be fully scoped from a photograph or surface inspection alone. If there are signs that moisture has reached the layers below the membrane, an approved controlled tear-down may be needed to confirm the actual condition. The repair plan can change after those hidden materials are exposed because the visible symptom does not always show the full extent of the damage.
If water has migrated beyond the roof assembly, BlueBonnet also has a dedicated RV water damage repair service for damage that involves adjoining materials or structure.
A practical way to decide between resealing and repair
Think of resealing as restoring a joint that has failed while the materials around it are still healthy. Think of roof repair as correcting damaged roof material or the structure that supports it.
Resealing is more likely to fit when:
- The failed area is a seam, flange, edge, or penetration.
- The membrane around it is intact.
- The roof is firm.
- There is no evidence of deeper water damage.
Roof repair is more likely to fit when:
- The membrane itself is damaged.
- The substrate or decking is soft or deteriorated.
- The leak has returned after prior sealing attempts.
- Water has moved into adjacent structure.
- The problem covers a larger area than one failed joint.
What to check before requesting service
You can make the first evaluation more useful by documenting the problem before anyone starts removing material. Note when the leak appears, where the interior symptom is located, and whether the area has been resealed before. Take wide photos of the roof and close-ups of the suspected seam, vent, skylight, edge, or damaged membrane.
Do not intentionally flood the roof to test it, and do not walk on an area that feels soft or unsafe. If the roof structure may be compromised, leave the inspection to a technician.
Get the cause identified before covering the symptom
If your RV roof has cracked sealant, a recurring leak, soft areas, or visible membrane damage, the useful question is not simply “What sealant should I add?” It is “Is this still a sealing problem, or has it become a roof repair?”
BlueBonnet RV & Trailer Repairs can inspect the roof, identify the likely source, and determine whether a proper reseal is enough or whether damaged material needs repair. Request service with photos and a description of what you are seeing so the next step can be based on the actual roof condition instead of guesswork.