
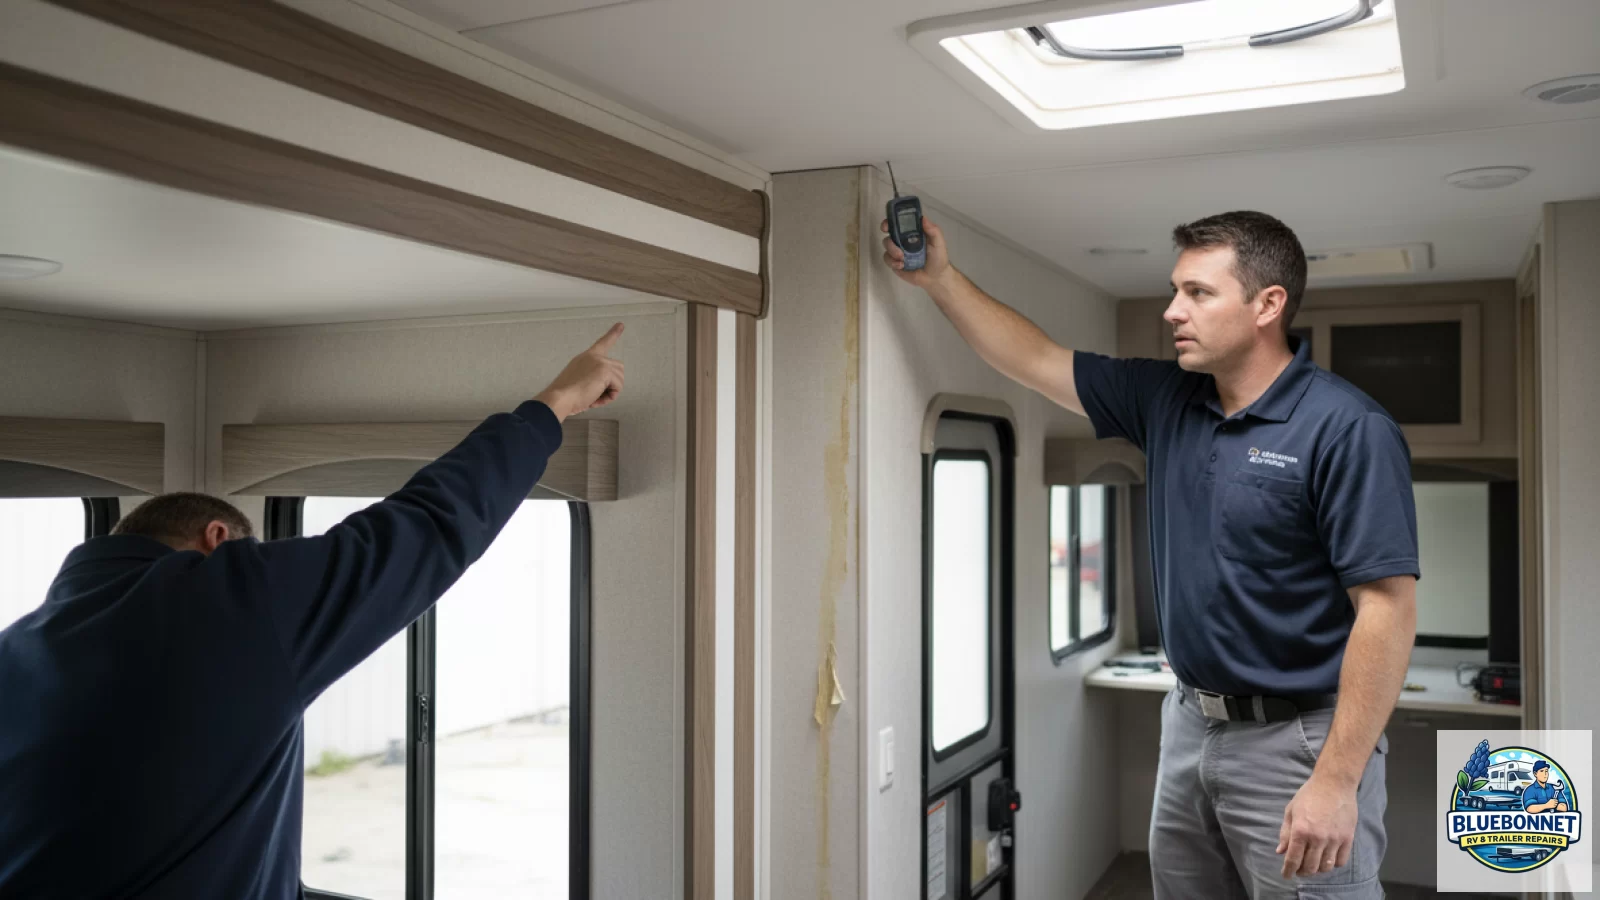
An RV roof leak is rarely just a roof problem. Water can enter at one spot, travel along framing or wiring paths, and show up somewhere else entirely—like a wall seam, a cabinet corner, or a soft floor near a slide.
This guide explains how that happens, what symptoms usually mean, and what information helps a repair shop find the true entry point before damage spreads.
Why roof leaks show up in walls and floors
Water follows gravity, but it also follows paths—and RV construction creates plenty of them:
- Roof decking seams and fastener lines
- Roof-to-sidewall transitions and corner structures
- Openings for vents, antennas, skylights, and A/C wiring
- Insulation cavities and vapor barriers
- Interior trim channels and cabinet voids
Because of that, the stain you see inside is often not directly under the roof entry point.
Common ways water travels after it enters the roof
1) Along roof decking seams
If water gets under the roof membrane or sealant at a seam, it can move laterally across the decking before it finds a low point to drip.
2) Down inside a wall cavity
Once water reaches a sidewall transition or an opening, it can run down inside the wall—sometimes behind insulation and paneling.
3) Into the floor system
Water that reaches the bottom of a wall cavity can wick into the floor edge, especially near entry doors, slide openings, exterior storage bays, and rear corners. Over time, repeated moisture can weaken plywood or composite layers and lead to soft spots.
If you’re seeing floor symptoms, it’s worth reading about what a shop checks during RV water-damage repair and how hidden moisture can affect the plan.
4) Through penetrations and wiring paths
Roof penetrations don’t just create a hole—they often create a route for water to follow wiring or fasteners.
5) Around caps, corners, and transitions
Front and rear caps and corner transitions can allow water to enter and then spread along structural members.
The symptom map
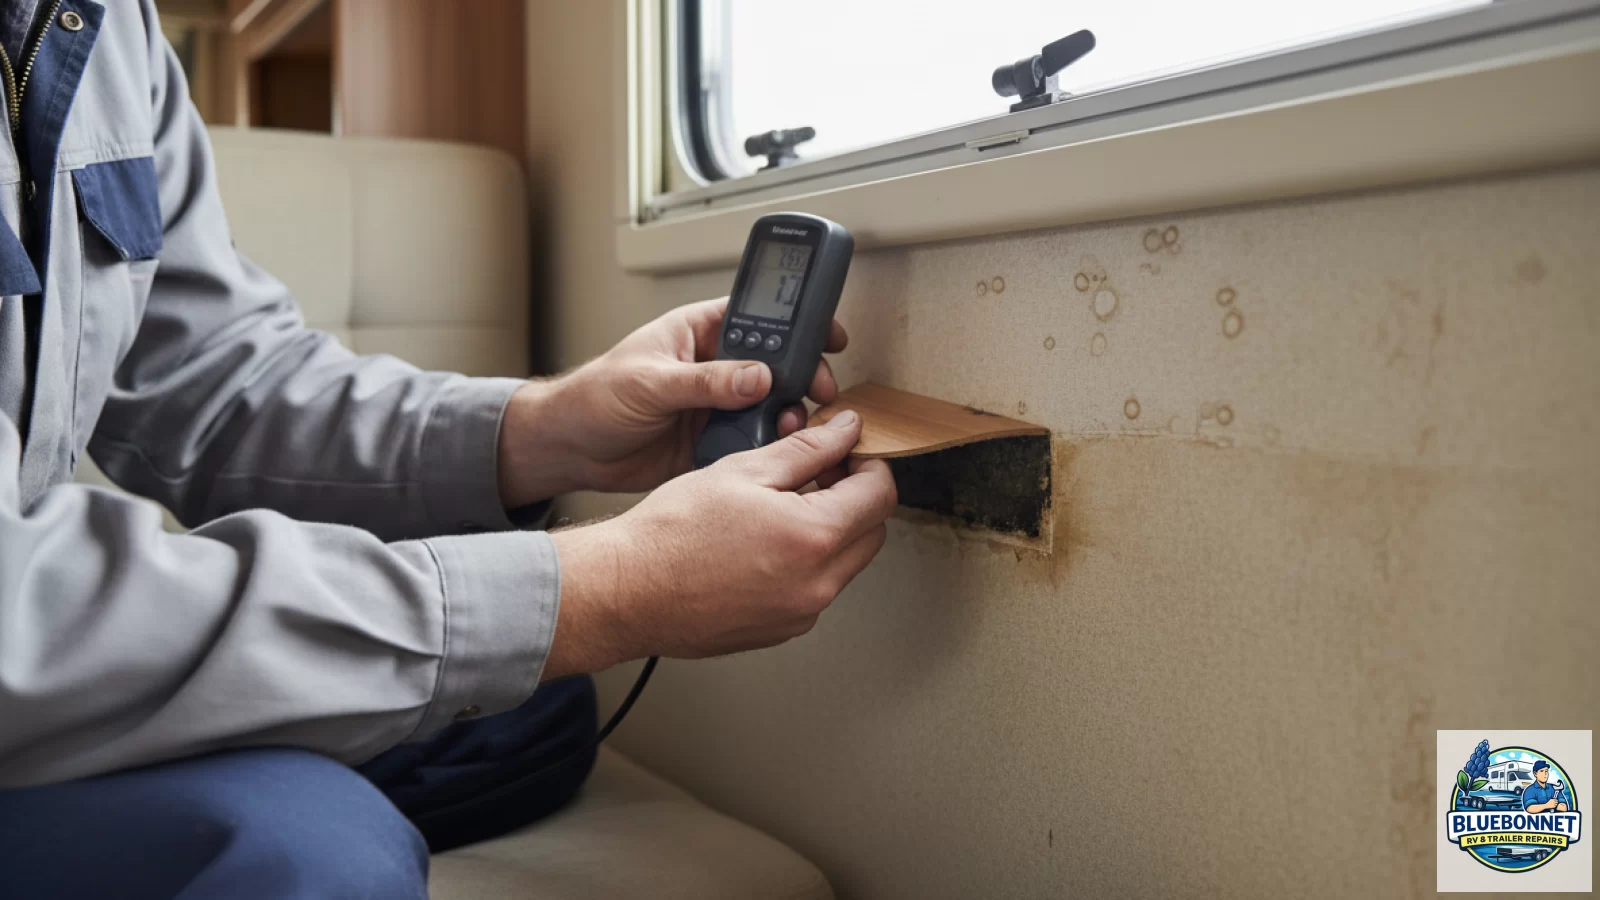
A ceiling stain near a vent often points to a vent flange or seal issue, but water can still travel before it shows. Wall bubbling or rippling often indicates water behind the paneling. A musty odor with minimal visible staining can indicate moisture trapped in insulation or framing voids. A soft floor near a wall or slide may mean water has been migrating for a while and collecting at the floor edge.
If the floor is soft, the repair plan may overlap with RV structural repair depending on what’s found underneath.
Why DIY seal-everything repairs can make diagnosis harder
Broad, unplanned sealing can trap moisture inside the roof system, hide the true entry point, or make later repairs more invasive. A better short-term step is to document what you’re seeing with photos and notes and schedule an inspection.
What to send a repair shop
Provide where you see the symptom inside, when it happens, wide and close-up photos, roof photos if safely accessible, and any recent events such as storms, tree contact, storage changes, or prior repairs.
Why the plan can change after inspection and approved tear-down
Water damage is often bigger than it looks. Even when the entry point is obvious, the extent of saturation in decking, insulation, wall framing, or floor layers may not be fully visible until controlled access is approved. That’s why major roof, floor, or structural work can change after an approved tear-down once the hidden condition is confirmed.
Practical next step
If you suspect a roof leak—or you’re seeing stains, wall bubbling, or a soft floor—don’t wait for it to declare itself. Water intrusion can spread and create more repair work later.
Call (903) 804-6600 or email service@bluebonnetrvandtrailerrepair.com with a short description and a few photos. If mobile service makes sense for the first look, we can discuss that; if the job is larger, weather-sensitive, equipment-intensive, or likely to take multiple days, the Rice service center may be the better fit.